Jump to:
Using the address book #
Address book is a company-wide contact database. If your organization has granted you access, you can use it to add new contacts (Visitor Management → Address book → Add contact) or modify data of employees or visitors.
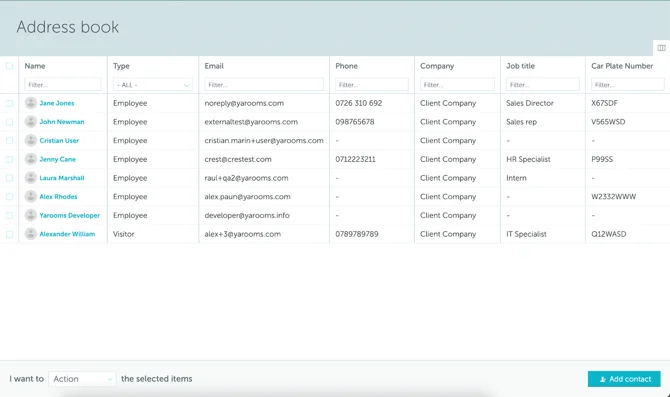
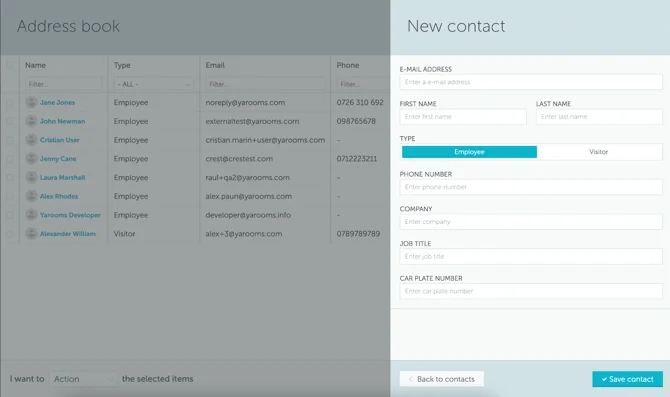
To add a new contact in the address book, press + Add contact button and fill in the contact details, as shown in the image below.
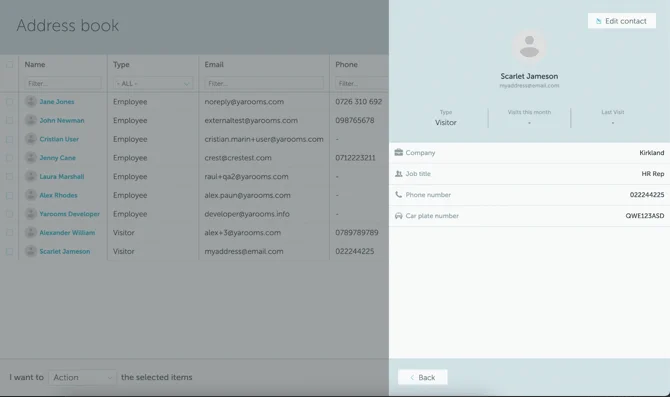
Using the address book, you can preview the contact’s card, containing their information as well as details about the contact’s type (visitor, employee), number of visits this month, and the date of last visit:
Using the Visitor Management dashboard #
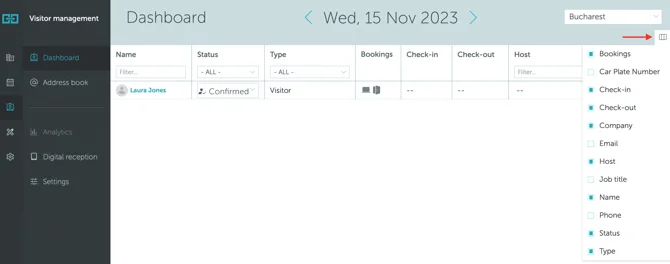
Visitor Management dashboard (Visitor Management → Dashboard) is a list of visits by day. You can see past or future visits by navigating the calendar on top of the dashboard. It can display the following visitor information:
The visitor management dashboard can display the following visitor information:
- Name (the name of the visitor)
- Status (the status of his visit on that day)
- Type (mention if the person is an actual visitor/external or one of your employees)
- Phone number (the phone number of the visitor)
- Job title (the visitor’s professional position or role title)
- Host (the person who booked the event / the inviter)
- Email (the email of the visitor)
- Company (the company that the visitor works for)
- Bookings (highlighted logo of the type of booking they are attending)
- Check-in time (the exact time the visitor checked-in to their meeting)
- Check-out time (the exact time the visitor check-out of their meeting)
- Car plate number (the visitor’s car plate number)
If you want to add the details or remove them from your dashboard, click the “Edit columns” button in the top right corner.
Adding a visitor #
If your organization has granted you access, you can register visitors by going to Visitor Management → Dashboard → Add visitor. You can search for an existing contact from your address book (1) or, if the contact does not exist in the address book (2), click the “New contact” button, fill in the visitor details, and save. (3)

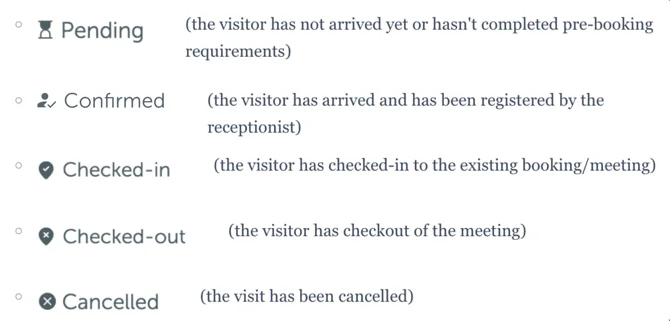
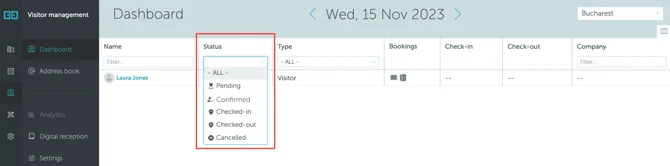
How to check-in/check-out the visitor or cancel their visit #
Once the visitor is registered, you can check them in or out by editing their status column in the Visitor Dashboard. Here you can also cancel their visit, if needed.
Visitors can also check-in by themselves, using the digital reception app. To do this, they have to scan the QR code sent to their email upon registration. Once they do this, you, as the host, will receive an email notification about the visitor’s arrival to the office.