1. Adding new users
Manual user provisioning can be performed in three ways:
- “Add+” a single user
In order to do this, you must go to Settings → Manage Users and click on the Add+ button from the bottom right corner of the page.
On the Details page, you can input their name and credentials (email & password).

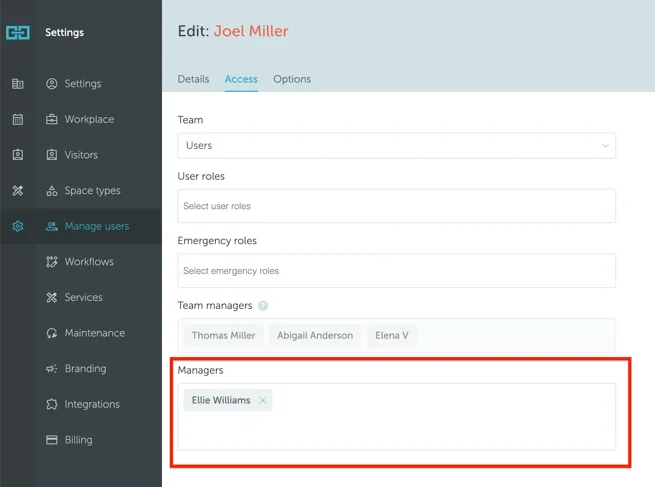
From the Access tab, you can assign users to a team, grant them personal access roles, assign emergency roles (if enabled), and designate their personal manager.
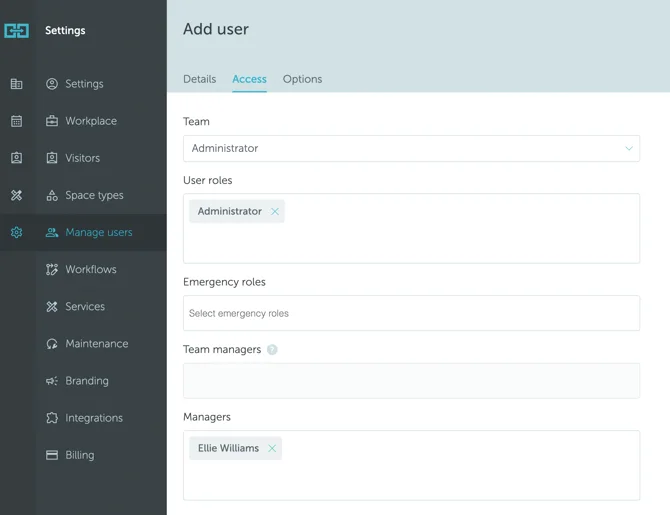
The Options tab is where you assign the user to a Location/Floor.
After defining these attributes, click Save. Optionally, you can choose to notify the newly created user via email.
- Invite one or several users.
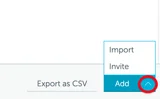
From the same “Manage Users” page, click on the upward-pointing arrow of the Add+ button, and then click on Invite.
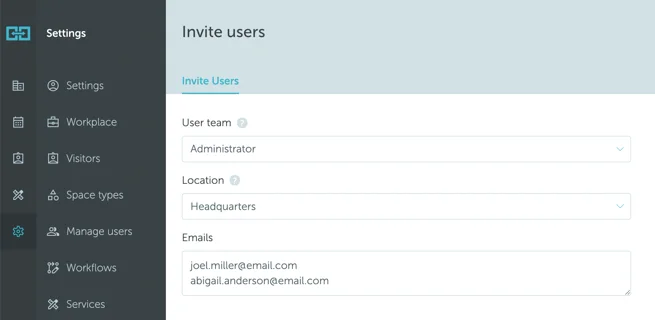
This will lead you to a page where you can invite one or multiple users to your Yarooms account by entering their email addresses in the designated field. Once you select “Send invites,” the users will get an email prompting them to follow a link to create their user accounts.
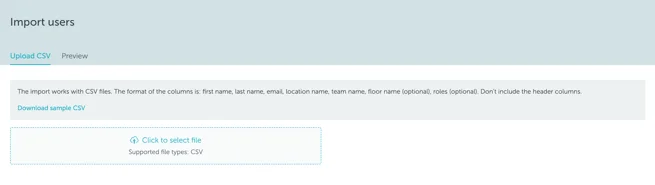
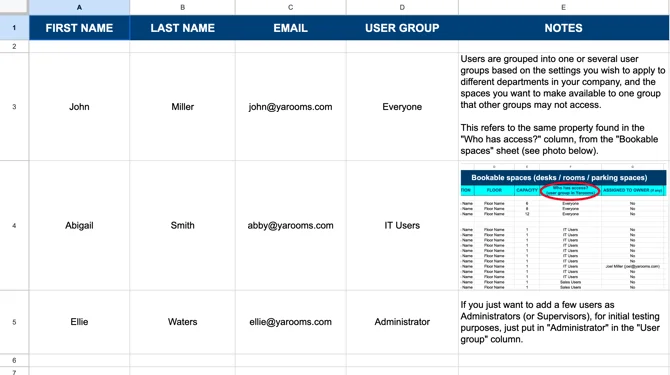
- Import users in bulk.
One of the widely used options is importing users in bulk from a comprehensive list structured in a CSV file. This list should be organized in multiple columns, including users’ first name, last name, email address, location name (matching your Yarooms account precisely), and user team name (the specific team you want the user to join).
2. Types of users
Every user will be assigned specific roles. These roles determine their access levels and permissions within your account. Here are the primary types of users:
Administrator (super-user) can manage users, locations, floors or spaces. Has access to all spaces, regardless of assignment or booking permissions. Can book on behalf of anyone, has full control over all bookings and has access to the billing area.
Supervisor (super-user) can change, approve and delete everyone’s bookings. Has access to all spaces, regardless of assignment or booking permissions.
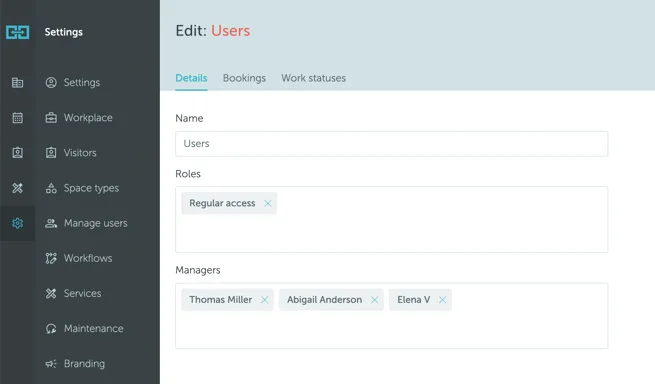
Other custom teams (regular-users) are subject to customisable restrictions and their access to spaces can be configured from Settings → Manage Users → Teams / Roles.
3. Managers
Regular users have the potential to be promoted to the manager role. There are three categories of managers:
Location Manager: There is no longer a specific section for assigning this type of manager. However, you can still achieve the same result by creating a custom access role that includes all the permissions of a location manager . Once you define that role, give it to any user/team you want.
Team Manager: has complete control over all the bookings initiated by the team of users under his management. Additionally, he is authorized to make bookings on their behalf.
He can be assigned from Settings → Manage Users → Teams → click on the Team name → Managers.
- User Personal Manager: controls the bookings of the person that they manage, can book and check-in on their behalf.
He can be assigned from Settings → Manage Users → click on the user’s name → Access → Managers.