What are they? #
One word: labels. They can be attached to specific desks and act as labels to inform users about the features/amenities that come with those desks. They’re referred to as “features” because of their most common use case, but in essence, they’re just text blocks that can be attached to spaces. You can use them however best fits your specific needs.
Creating features #
To create features for a type of space, go to Settings → Space types → click on the type → Features → + Add new feature.
Add as many features as you wish. You can specify not only the name of the feature, but also describe it more in-depth (for example, include the technical specifications of the monitor).
The users will be able to see these details when hovering over the feature in the Map view.

How to assign features to spaces #
To assign features to spaces, go to Settings → Workplace → click on the floor where the space(s) is → click on the name of the space → attach features. You will be able to mark all features (amenities) that a particular space has.
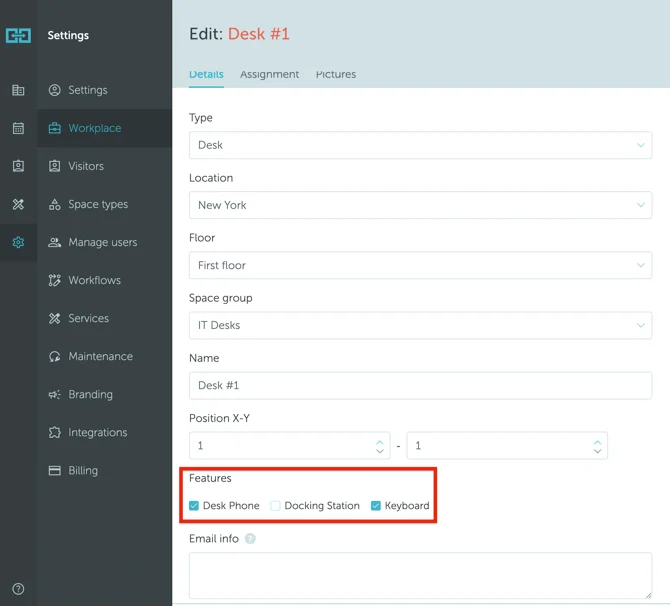
Alternatively, you can also go to Workplace → Map, enter the floor plan Edit Mode, click on the space you want to add the features to, and click the Quick Edit button. Read more about editing spaces using the Map view .