1. How to create floors without a map
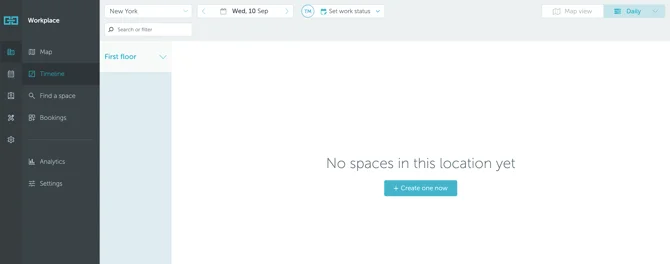
If you don’t have an office map, floors can be created using the Timeline view. To get started, go to Workplace → Timeline and select the location you want to create floors in. You will see the message “No floors in this location yet”.
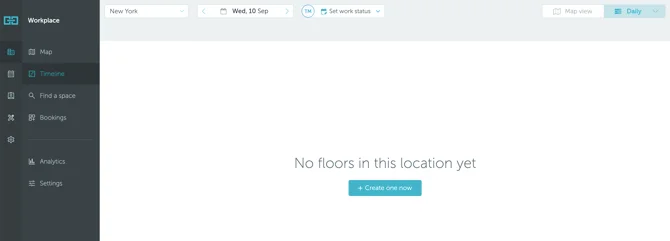
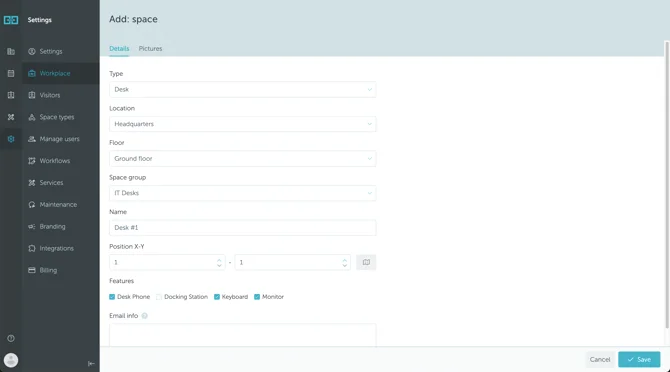
Press the “Create one now” button. You will be able to define the floor:
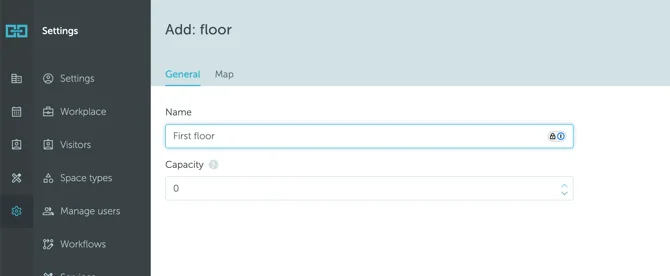
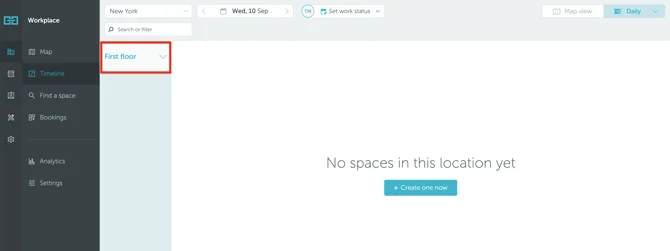
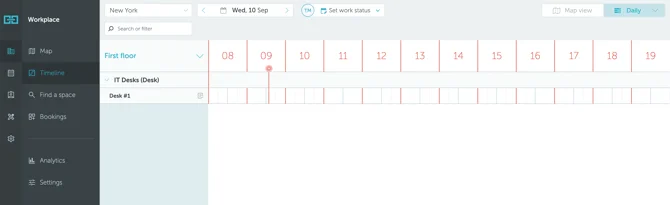
Save your settings. The new floor will appear in the timeline view:
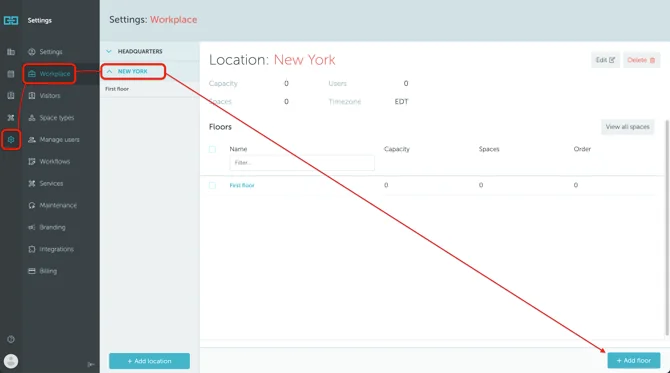
After you create your first floor, the second and all the remaining floors will have to be added from Settings → Workplace.
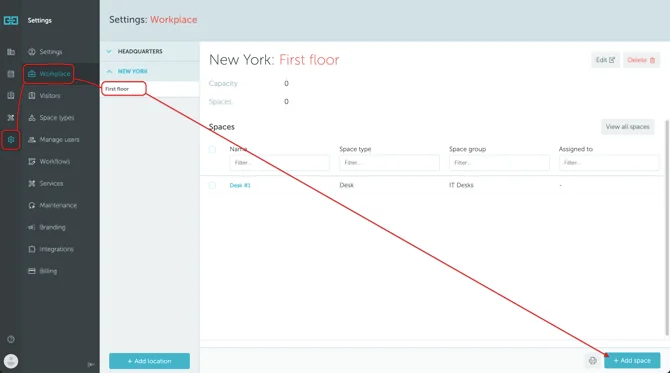
Go to Settings → Workplace → click on the location where you want to add the new floor → Add floor +. Just like the first time, you will be able to define the floor. Save your settings. The new floor will appear in the timeline view.
Repeat the process for all of your floors.
2. How to create spaces without a map
After the floors are created, you can add bookable spaces to them.
To get started, go to Workplace → Timeline and select the location and floor you want to create spaces in. You will see the message “No spaces on this floor yet”. Press the "+ Create one now" button.
You will be able to define the space:
Save your settings. The new space will appear in the timeline view:
After you create your first space, the second and all the remaining spaces will have to be added from Settings → Workplace.
Go to Settings → Workplace → click on the floor where you want to add the new space → Add+. Just like the first time, you will be able to define the space. Save your settings. The new space will appear in the timeline view.
Repeat the process for all of your spaces.