Jump to:
To set up a new room display, follow these steps:
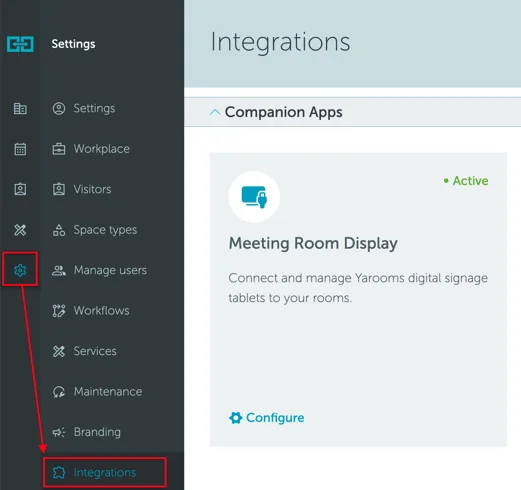
Open your YAROOMS web app and go to Settings → Integrations → Meeting Room Display, and press Add+
Download the Meeting Room Display app from the AppStore or GooglePlay . If you’re using a display device that requires an APK, please contact support@yarooms.com .
Once you open the app on the tablet, you will see the “Register device” screen:
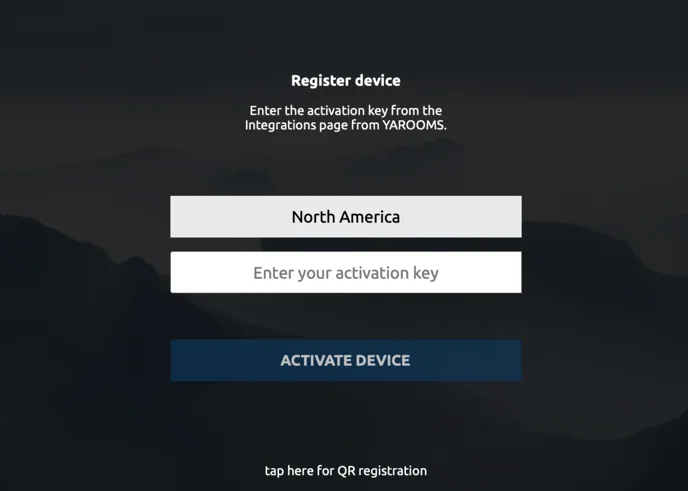
As indicated in the photo above, you will need to fill in the “Enter your activation key” field.
Please return to your Yarooms account, click on the “Show QR code” button, and use the Activation Key (located above the QR code) to activate your device.
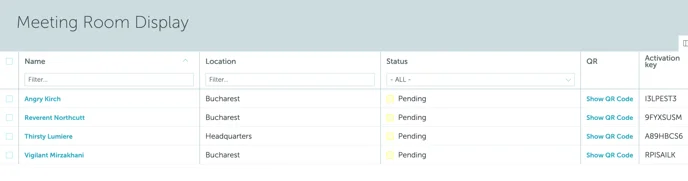
Even if you exit the configuration page, the Activation Key will continue to be displayed on the Yarooms device list page, as shown below.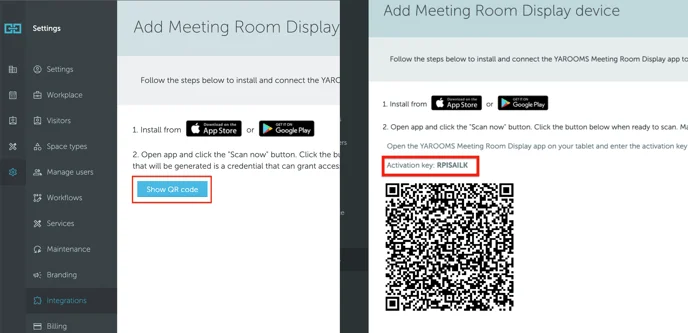
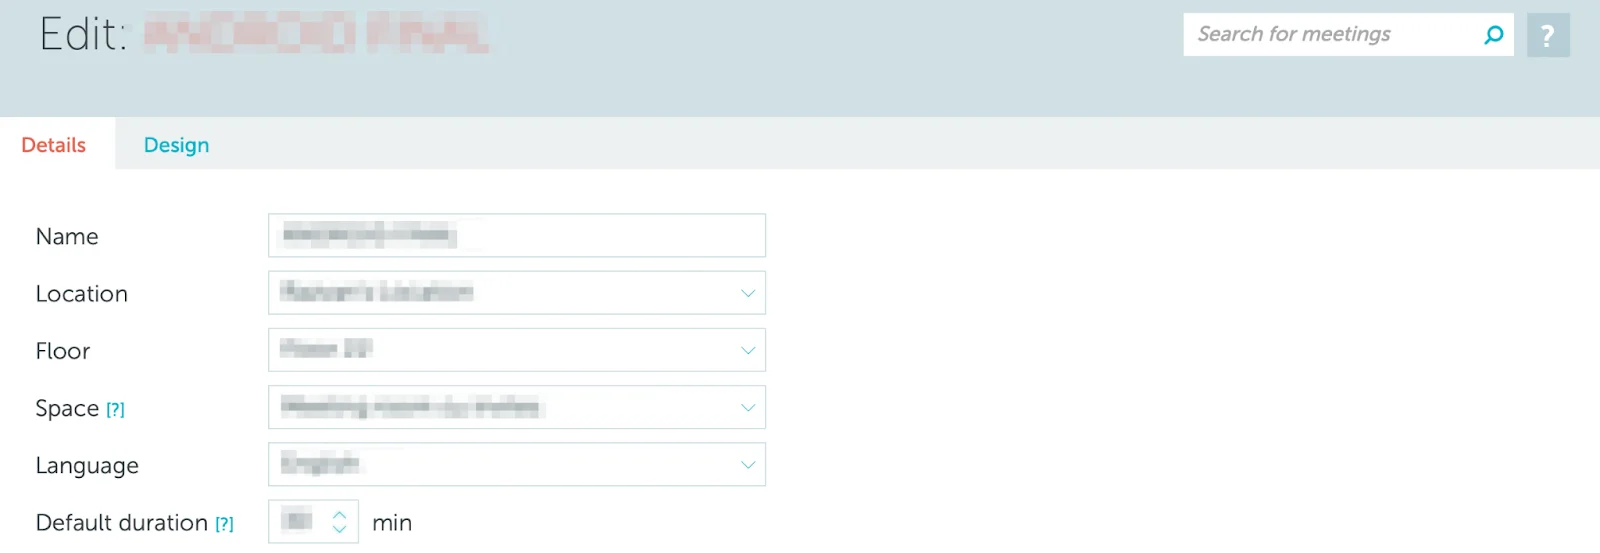
Then, complete the device’s setup in the web application. In the “Details” tab, specify the device’s:
- Name (this will show up on the device interface)
- Location
- Floor
- Space
- Language
- Default duration (default booking duration used in quick booking).
Use the “Design” tab to modify your room display’s interface (colors, time and date format, add background image, etc.) and behaviours.
Design Tab Options
Skip booking form - available only if space group has custom booking strategy enabled and the current interval is free.
Require login actions - if set to “Yes”, a modal containing a QR code will appear when trying to perform an action (book space, check-in, end or extend the booking) from the meeting room display. To authorize the action, this QR code must be scanned with the phone camera. The user will be redirected to the web app to approve or cancel the pending action. After that, the meeting room display will show the success (or failure) message.
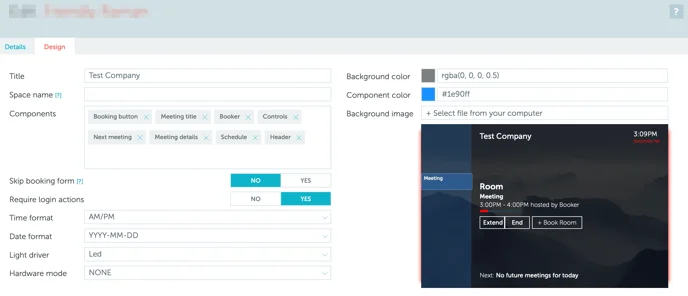
List of components & their functions
| Component | Function |
|---|---|
| Booking button | Shows the booking button on the tablet and allows booking. |
| Booker | Shows who is the booker. |
| Controls | Shows the meeting controls (extend, end, confirm). |
| Next meeting | Shows the next meeting details (bottom, above red banner). |
| Meeting details | Shows the meeting title, hours and booker. |
| Schedule | Shows the left sidebar schedule. |
| Header | Shows title and clock on the header. |
| Meeting title | Shows the meeting title. |
Save your selection. The newly created device will appear in the list with the status: “Active”.