Jump to:
The lobby display integration shows the status of spaces (rooms, excluding workspaces) assigned to it.
Configuration Steps
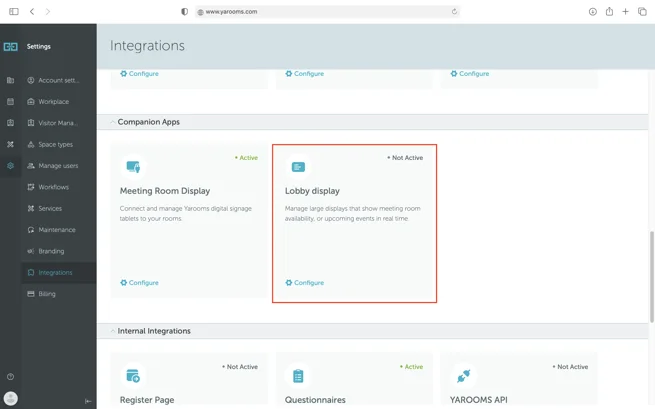
Navigate to Settings → Integrations in the web app, then select ‘Lobby display’.
View the existing devices table.
Click the ‘Add’ button.
A configuration screen appears directing you to visit
https://[your_domain].yarooms.com/lobbyand display the activation key.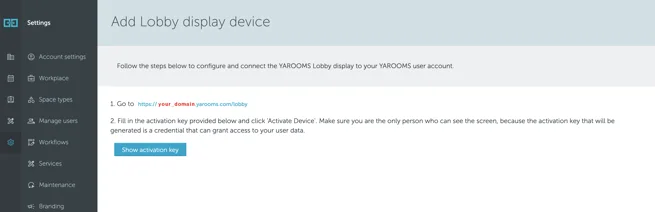
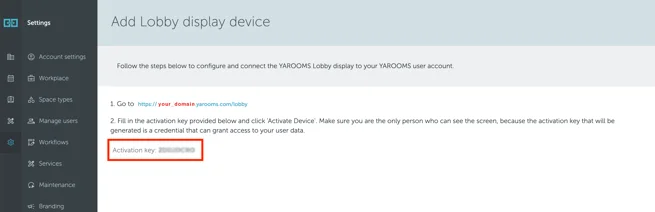
Click ‘Show activation key’ to reveal the key for the new device.
Visit
https://[your_domain].yarooms.com/lobby.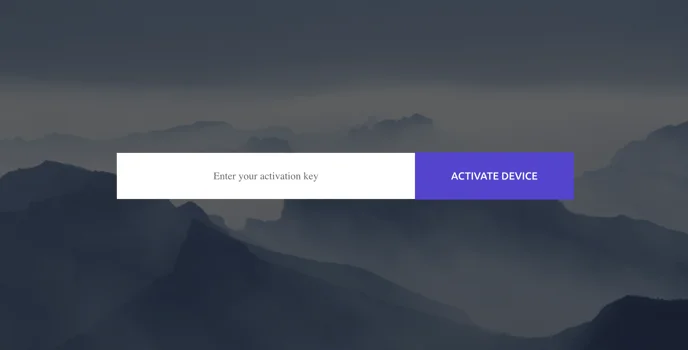
Enter the activation key and click ‘Activate device’. The device enters “Waiting configuration” state.

Return to the webapp and click ‘Continue’.
Access the configuration page.
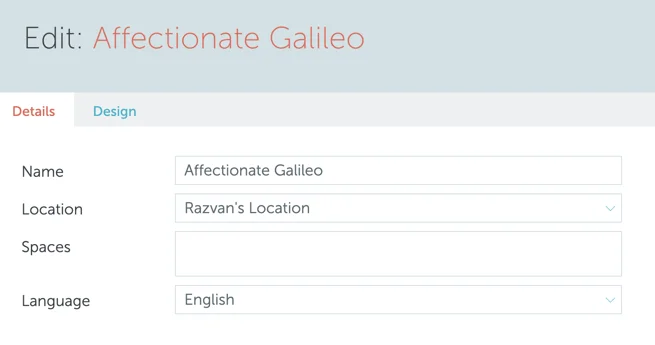
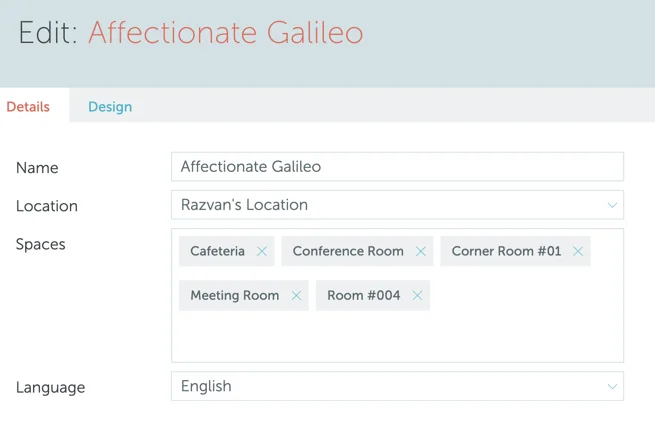
Assign spaces to the device (minimum 1, maximum 12).
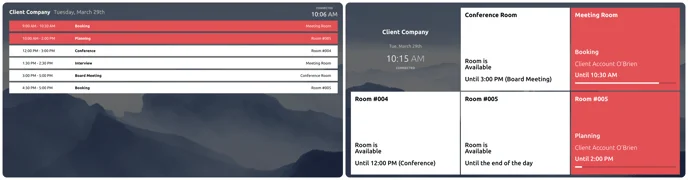
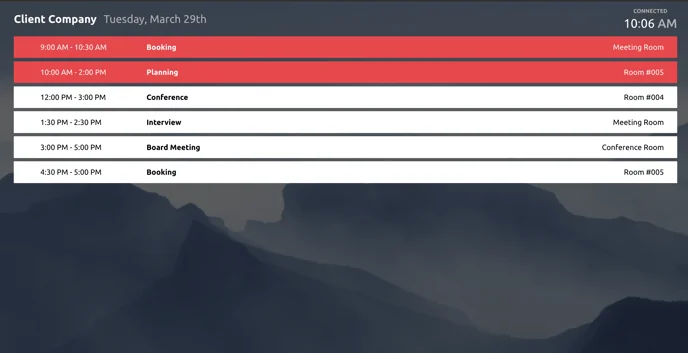
Click ‘Save’ to activate the display. It defaults to “List view,” showing current and upcoming bookings organized by start time.
On the ‘Design’ tab, customize the display appearance.
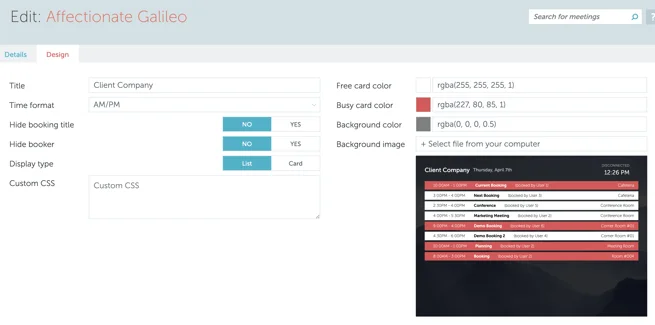
Display Types
List: The default view, displaying bookings chronologically by start time.
Card: A card appears for each assigned room showing its current state. Busy rooms display in the selected “Busy card color,” while free rooms show the “Free card color” (colors apply to list view entries as well).