Jump to:
STEP 1: Create SAML App in Google Admin
Login to your Google Workspace administrator account and navigate to Apps → SAML Apps. Create a new App.
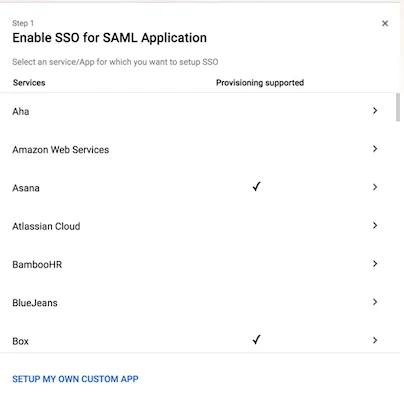
Enable SSO for SAML Application:
- Choose “Setup My Own Custom App” at the bottom of the dialog
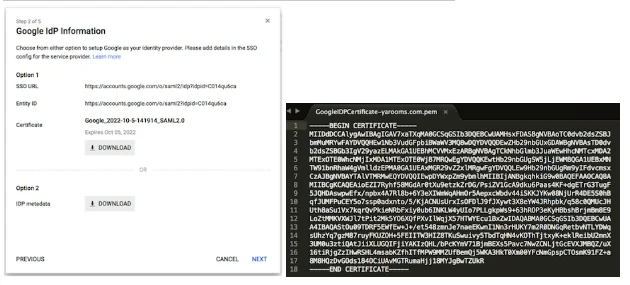
- Google IdP Information: The second step of the dialog will display the Identity Provider info
STEP 2: Configure the SAML Connection in YAROOMS
- Inside a new browser tab, login as an administrator to your YAROOMS account.
- Navigate to Settings → Integrations → SAML 2.0 and start the integration process. In the “Connection” tab, fill in the form as follows:
- Identity Provider: Type Google SAML
- Issuer URL: Copy and paste the value for Entity ID from Google IdP Information.
- SAML Endpoint: Copy and paste the value for SSO Url from Google IdP Information
- X.509 Certificate: Download the certificate from the Google IdP Information dialog and copy its contents
- Name ID Format: choose emailAddress as value.
- Attributes Mapping:
- Map First Name to FirstName
- Map Last Name to LastName

- Save options and navigate to “User options” tab.
- Set default group and location for new users created with data from the Identity Provider.

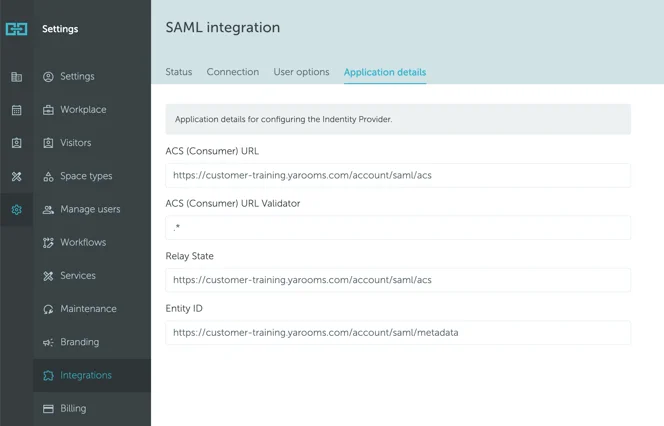
- Save User options and navigate to “Application details” tab.
STEP 3: Fill Service Provider Details in the Google App
- Back to the Google App, fill in the fields as follows:
- ACS URL: Paste the value from the ACS (Consumer) URL field from YAROOMS Application details.
- Entity ID: Paste the URL of your YAROOMS domain (e.g., https://your_domain.yarooms.com/ )
- Name ID: Basic Information, Primary Email
- Name ID Format: EMAIL
- Save and move to “Attribute Mapping”.
STEP 4: Map Attributes in the Google App
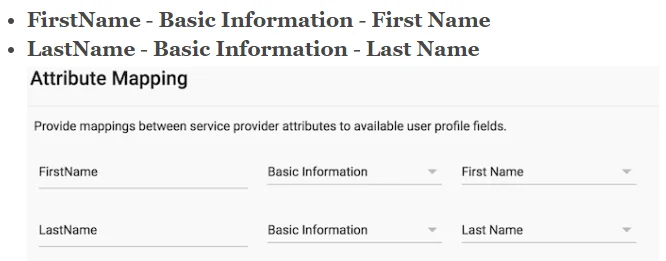
Define the next value set for mapped attributes:
- FirstName - Basic Information - First Name
- LastName - Basic Information - Last Name
- Save the Application.
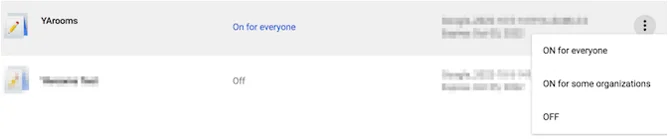
- In Google Admin, navigate to Apps → SAML Apps.
- Turn the App on and configure the user settings accordingly.
STEP 5: Fix the SAML Endpoint in YAROOMS Connection Settings
- To get the valid SAML Endpoint for the newly created Google SAML App, go to Google Admin. Open the Google App menu and look for the YAROOMS SAML application previously created.
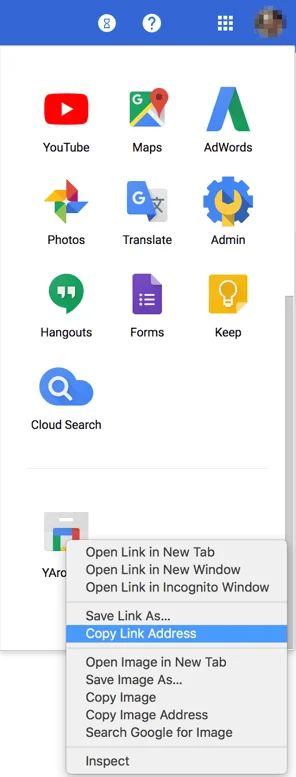
- Right click (or Control-click on Mac) and select ‘Copy Link Address’.
- Go to YAROOMS Connection tab and paste the link in the SAML Endpoint field.
- It should look similar to: https://accounts.google.com/o/saml2/initsso?idpid=C012abcde&spid=123456789012&forceauthn=false
- Save Connection settings.
- Go to “Application details” tab and activate YAROOMS SAML 2.0 Integration.
This tutorial does not cover user provisioning and assignment in Google Workspace. It assumes you are already familiar with configuring Google Workspace settings specific to your organization’s user setup.