1. What is the Google Calendar integration
This integration enables synchronization between Google resources and YAROOMS spaces. You can map spaces in YAROOMS with resources in your Google tenant to enable automatic synchronization of events from and to YAROOMS.
2. Requirements
Enable APIs for your project
Any application that calls Google APIs needs to enable those APIs in the API Console.
To enable an API for your project:
- Open the API Library in the Google API Console.
- If prompted, select a project or create a new one.
- Select Google Calendar API, then click the Enable button.
Create a service account
Any application that uses OAuth 2.0 to access Google APIs must have authorization credentials that identify the application to Google’s OAuth 2.0 server.
The following steps explain how to create credentials for your project. Your applications can then use the credentials to access APIs that you have enabled for that project.
- Go to the Credentials page .
- Click Create credentials → Service Account.
- Fill in a name and description.
- Edit the newly created service account, go to keys and add a new JSON key.
- Save the new JSON file somewhere securely
- Enable domain wide delegation
Then, a super administrator of the Google Workspace domain must complete the following steps:
- From your Google Workspace domain’s Admin console , go to Main menu → Security → API Controls.
- In the Domain wide delegation pane, select Manage Domain Wide Delegation.
- Click Add new.
- In the Client ID field, enter the service account’s Client ID. You can find your service account’s client ID in the Service accounts page .
- In the OAuth scopes (comma-delimited) field, enter https://www.googleapis.com/auth/calendar.readonly https://www.googleapis.com/auth/calendar.events
- Click Authorize.
Create room resources (optional)
This can be achieved by following this guide: https://support.google.com/a/answer/1033925?hl=en
Create a delegated account
We will need a user that the service account will impersonate in order to manage remote events in the mapped resources. This account can be created normally from Google Workspace but it is important to have access to the room resources calendars (this should be the default behaviour).
3. Creating the Google Calendar integration
Go to Settings → Integrations → Google Calendar → Manage Google Calendar
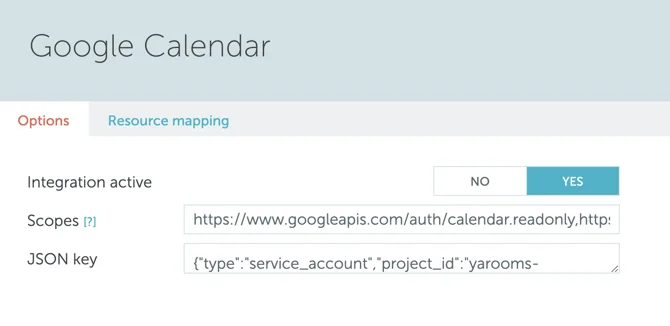
Options tab
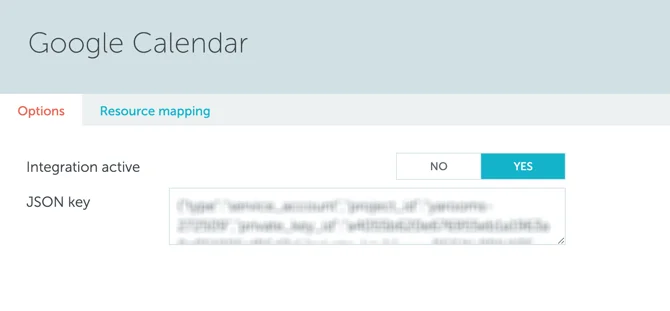
- Activate the integration by setting “Integration active” to “Yes”.
- Copy and paste the contents of the json file downloaded in the Create a service account process in the “JSON key” field.
Resource mapping tab
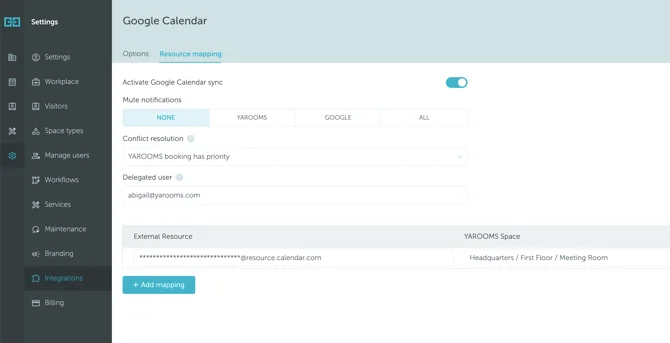
- Turn on the “Activate Google Calendar sync” option
- “Mute notifications” choose if you want to mute booking confirmations from YAROOMS or Google, when a user books a space that has a mapped resource to it.
- “Conflict resolution” settings determine which booking has a priority:
- YAROOMS priority - In case of a booking conflict between YAROOMS and Google resources, the YAROOMS booking will override the Google booking. This means that the Google booking will be deleted and replaced with the YAROOMS booking.
- Google priority - In case of a booking conflict between YAROOMS and Google resources, the Google booking will override the YAROOMS booking. This means that the YAROOMS booking will be deleted and replaced with the Google booking.
- In the “Delegated user” field, delegate a user which the service account will impersonate in order to manage remote events in managed resources.
- Finally, click Add mapping+. This will spawn a new row in the mappings table.
- Select a space from YAROOMS in the “YAROOMS Space” field.
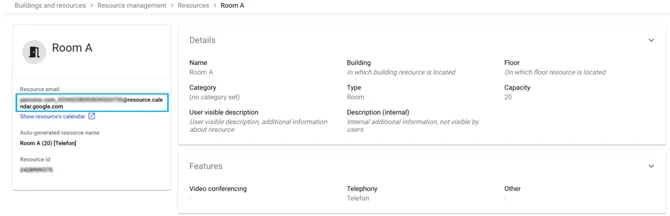
- In the “External resource” field, enter the room resource email. This can be found in: Admin console Home page → Buildings and resources → Click on any resource → Resource email.
- Don’t forget to save your settings.