This configuration allows you to use Okta for SAML 2.0 authentication.
Step 1. Create a new Application in Okta
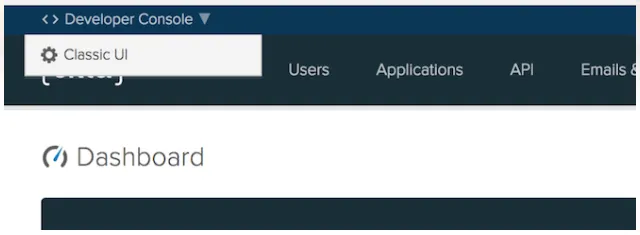
- If using the Developer dashboard, switch to the Classic UI first.
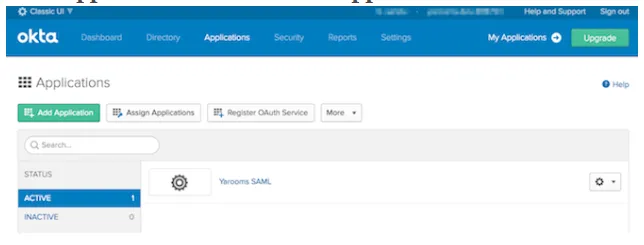
- Log in as an administrative user and navigate to Applications → Add Application.
- Click “Create New App.”
- In General Settings, enter your preferred app name and click Next.
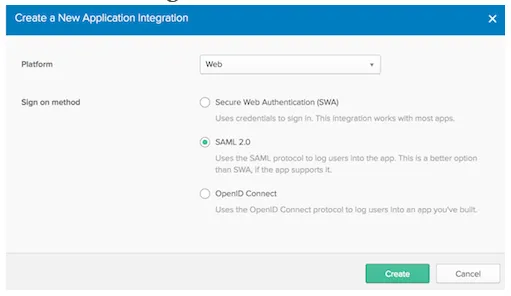
- In Configure SAML, complete the following:
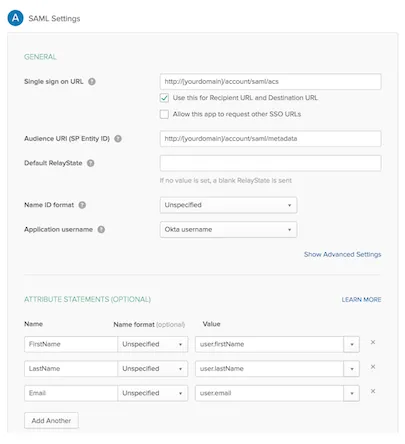
- Single sign on URL:
https://{yourdomain}/account/saml/acs - Audience URI (SP Entity ID):
https://{yourdomain}/account/saml/metadata - Default RelayState: leave blank (optional)
- Name ID Format: unspecified
- Application username: Okta username
- Single sign on URL:

- Attribute statements:
- FirstName → user.firstName
- LastName → user.lastName
- Email → user.email
- In Feedback, select “I’m an Okta customer adding an internal app” and check “This is an internal app that we created.”
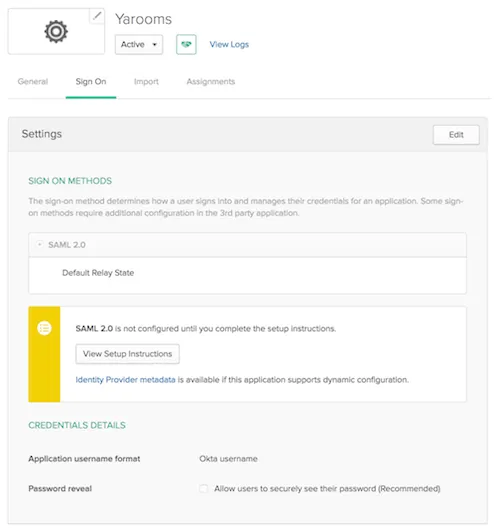
- Navigate to the Sign on tab and click “View Setup Instructions.”
- Keep the new tab open for reference during YAROOMS configuration.
Step 2. Configure the SAML Connection in YAROOMS
Log into YAROOMS as an administrator. Go to Integrations → SAML 2.0 Authentication.
Connection Tab:
- Identity Provider: Enter “Okta” (appears as “Authenticate with Okta” on login page)
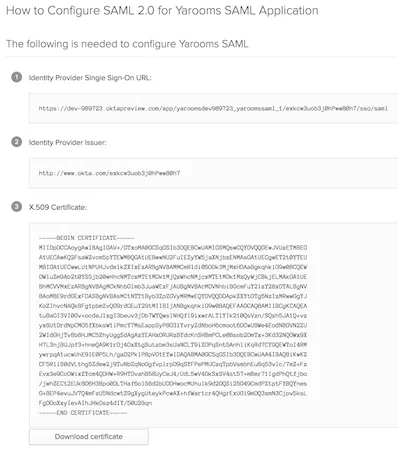
- Issuer URL: Copy from Okta’s Identity Provider Issuer
- SAML Endpoint: Copy from Okta’s Identity Provider Single Sign-On URL
- X.509 Certificate: Copy the entire certificate string from Okta
- Name ID Format: unspecified
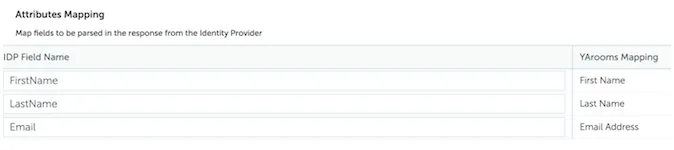
- Attributes Mapping:
- First Name → FirstName
- Last Name → LastName
- Email Address → Email
User Options Tab:
Set default group and location for new users created via the Identity Provider.

Application Details Tab:
Click the activation button to complete integration.
Note: User provisioning and assignment in Okta are organization-specific configurations outside this tutorial’s scope.