Prerequisites
To check yourself out, you must be a visitor who is currently checked in at the location. Self check-out uses the same QR code from your invitation email, the one you used to check in. If you don’t have the QR code handy, you can check out with your email instead.
If you never checked in, there is nothing to check out: the option only applies to visitors with an active, checked-in visit.
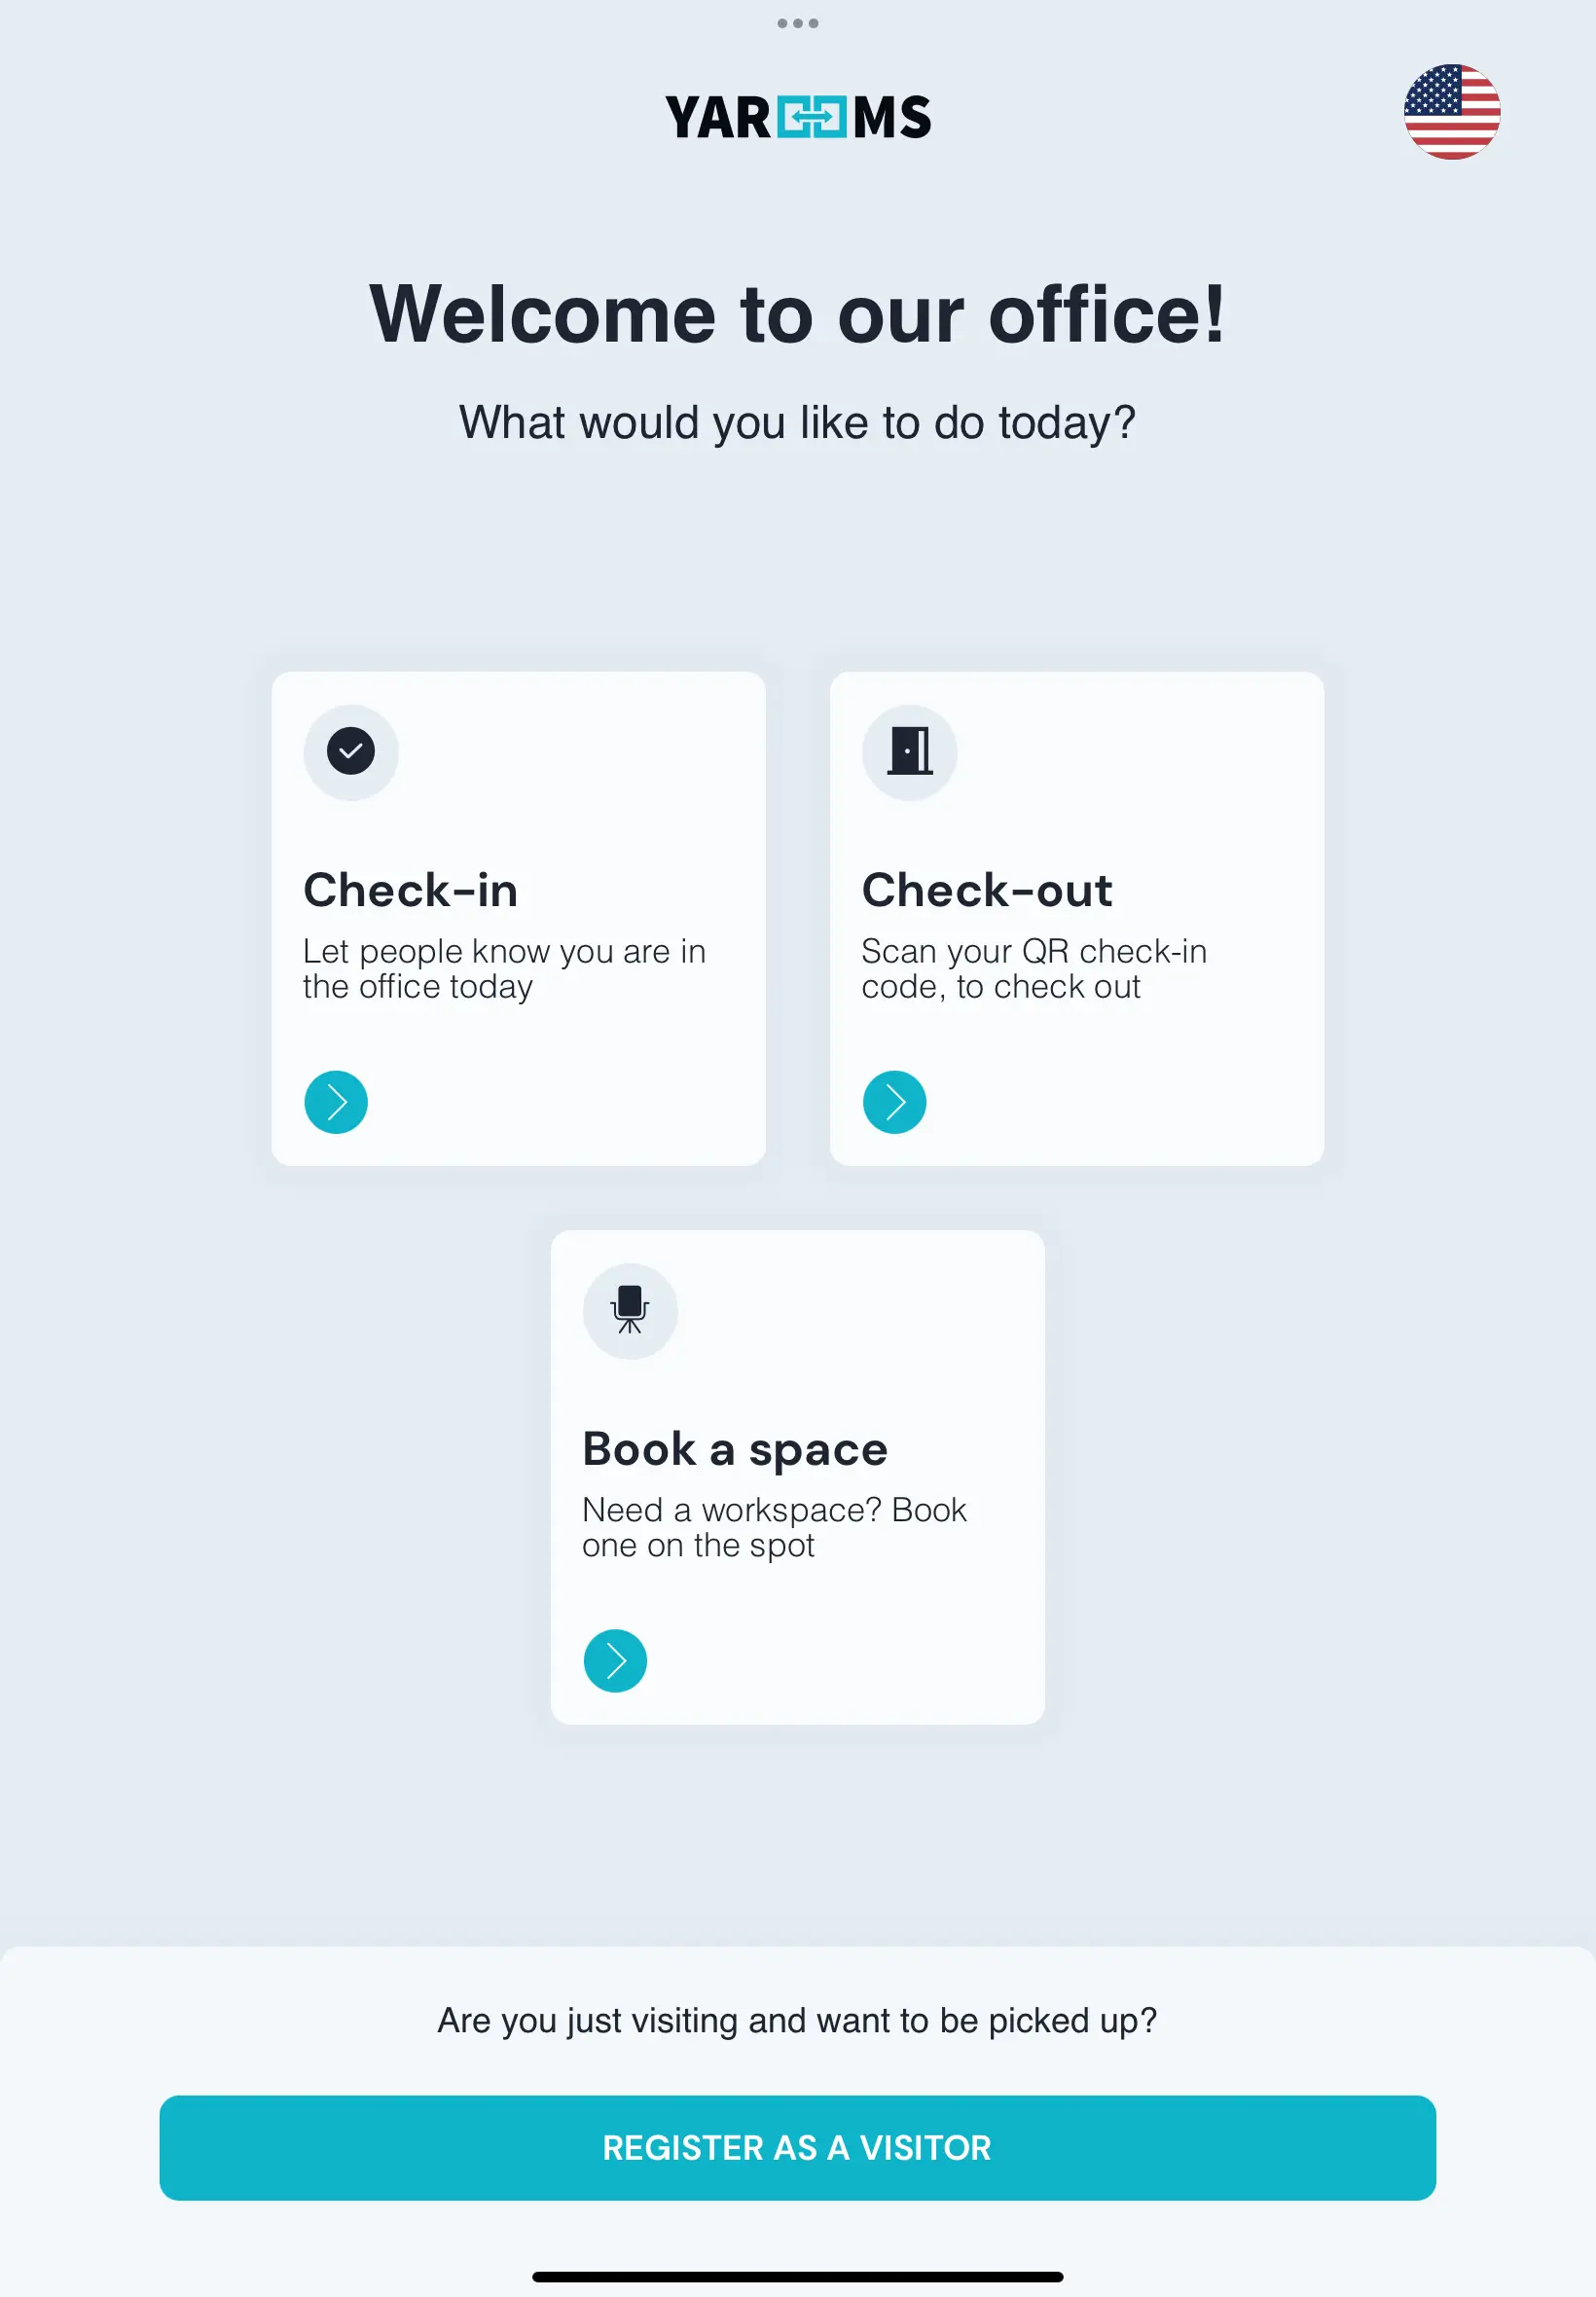
Self check-out also has to be enabled for the location. An administrator turns on the Enable Check-Out toggle in the location’s Visitor Management settings. If the Check-out card is not on the reception screen, check-out is not enabled for that location.
Check-out steps
Tap the Check-out card on the reception tablet home screen. It sits next to the Check-in card.
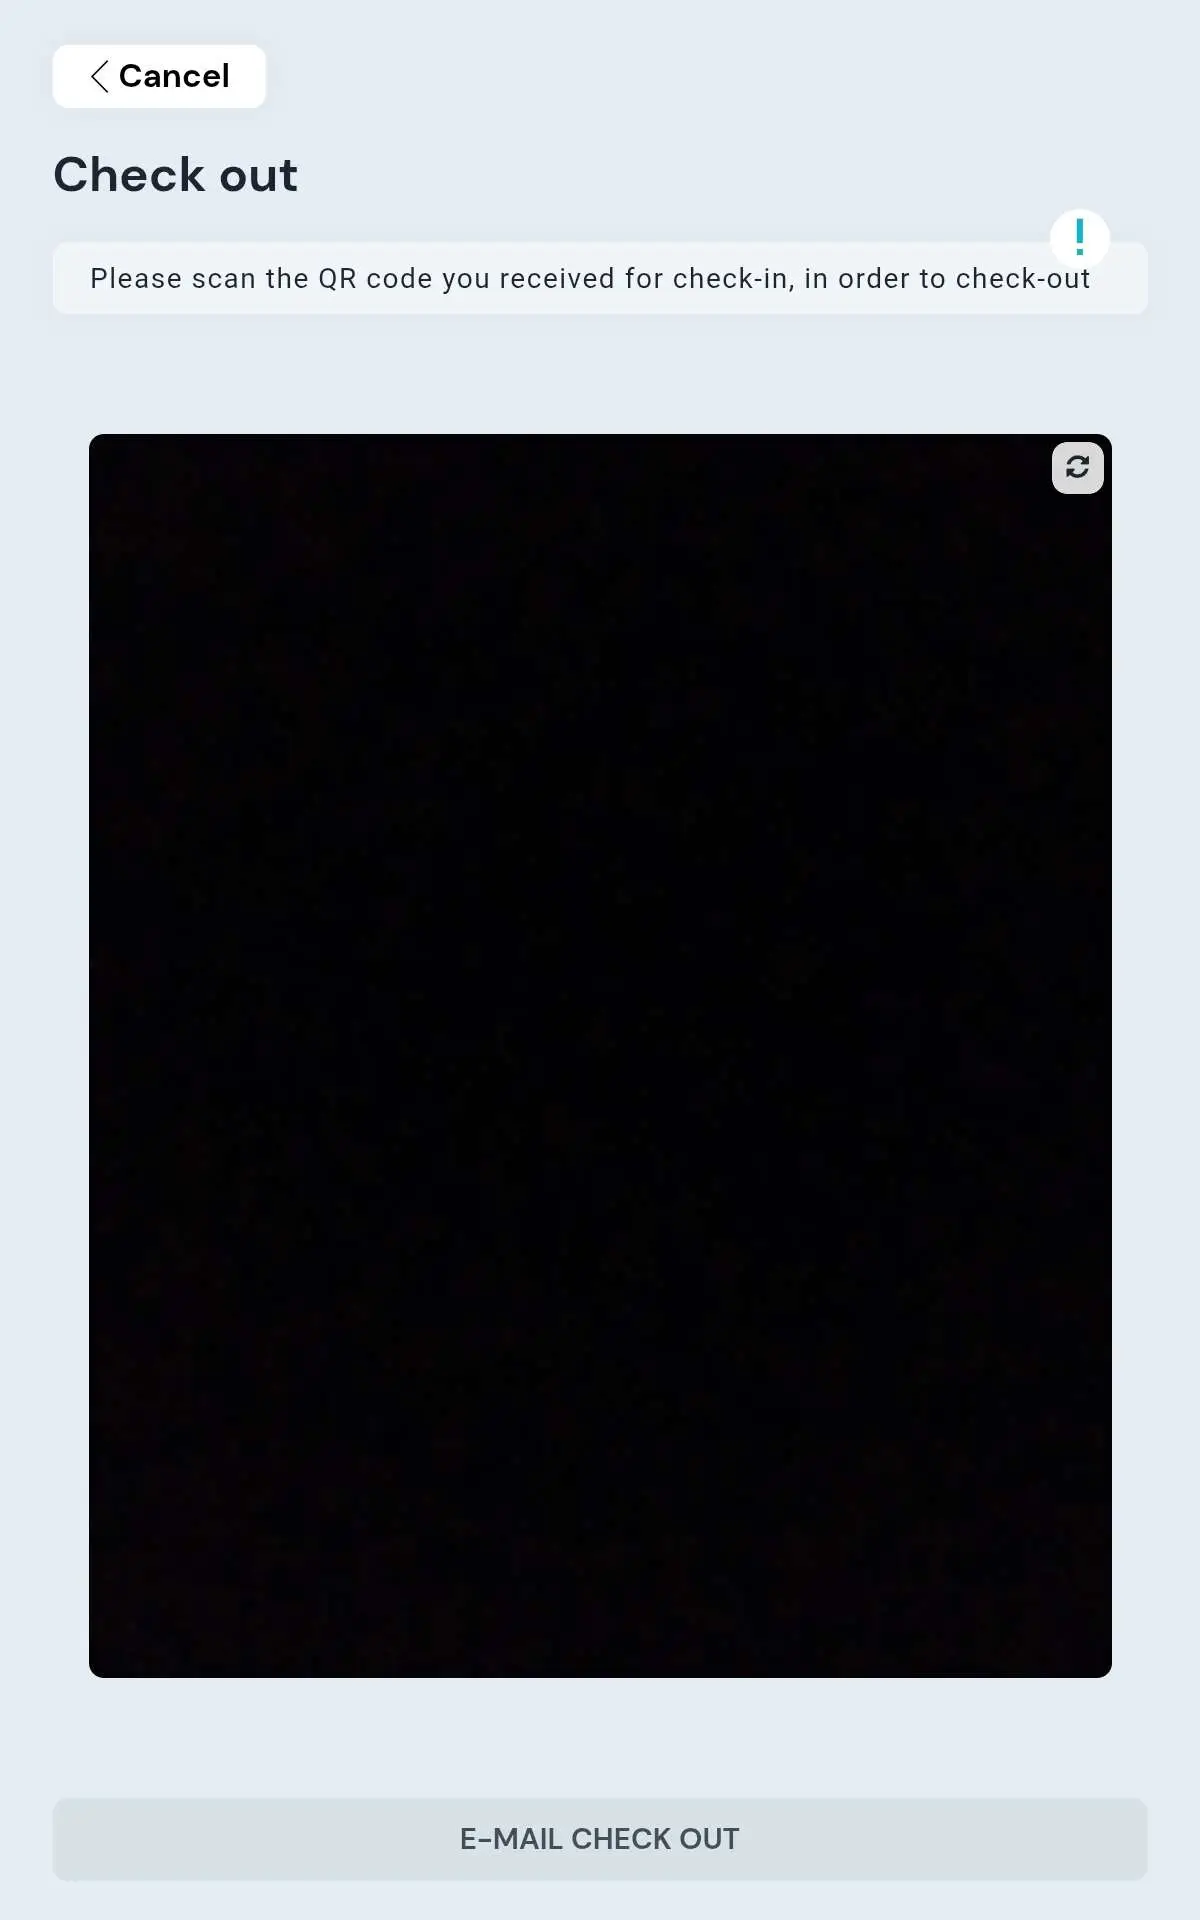
Scan your QR code. Scanning is the default option. Hold the QR code from your invitation email up to the reception device’s camera. It is the same code you used to check in.
Once your visit is matched, you will see a confirmation that you have checked out. The screen returns to the home page after a moment.
If you don’t have your QR code
No QR code? Use the email fallback:
On the check-out screen, tap “E-mail check out.”
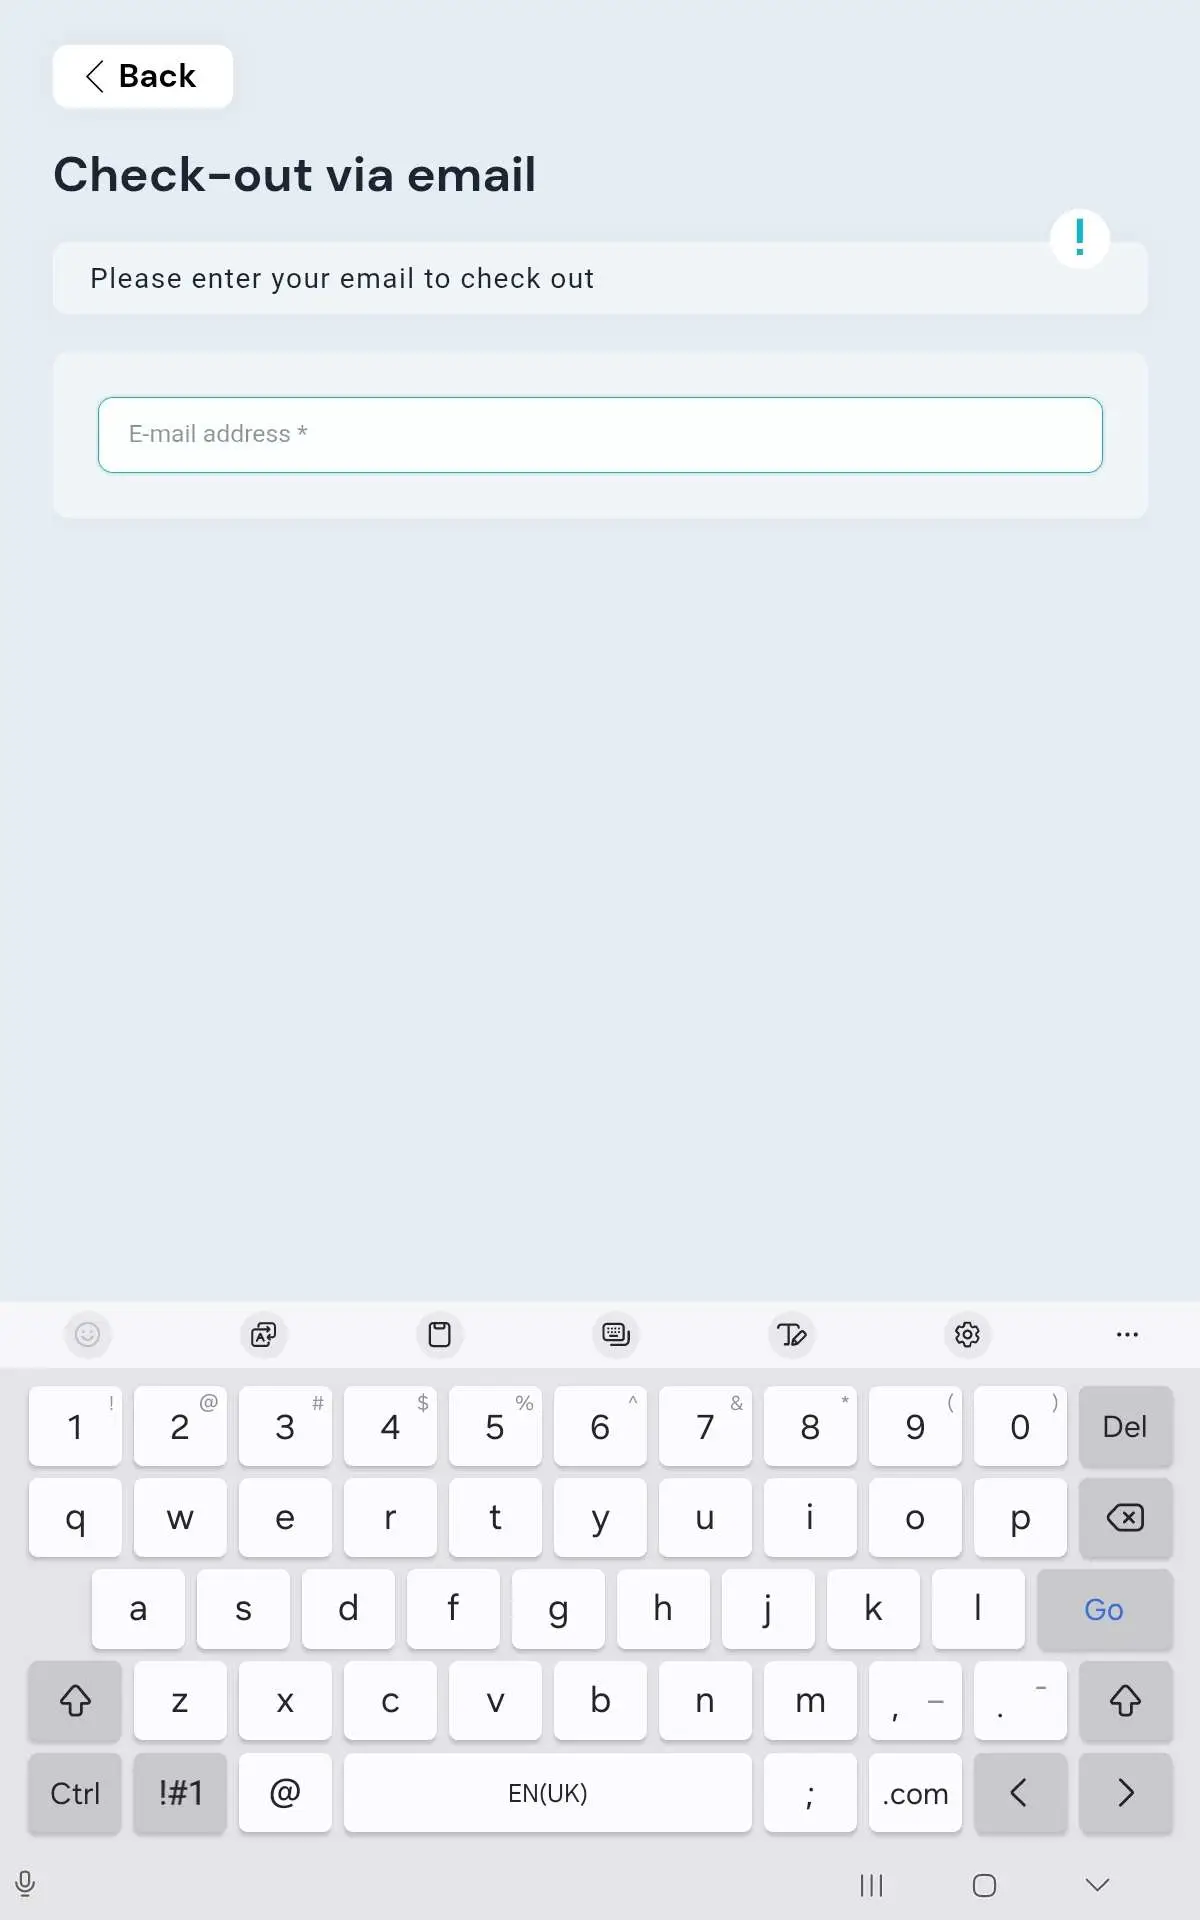
Type the email address you used for your visit. A check-out button appears once you have entered it.
Tap the button to check out. You will see the same confirmation as the QR flow.
If the device’s camera is not available (for example, camera access is turned off), the email option appears automatically so you can still check out.