STEP 1: Create & Configure a new Application in Okta
Create the Application:
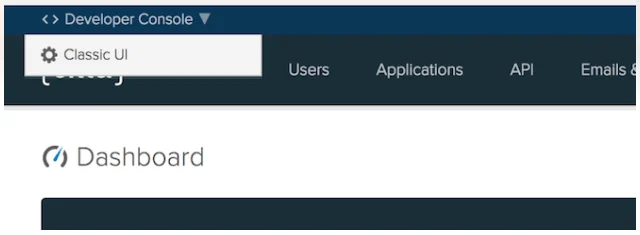
- If you are using the Developer dashboard, you first need to switch to the Classic UI.
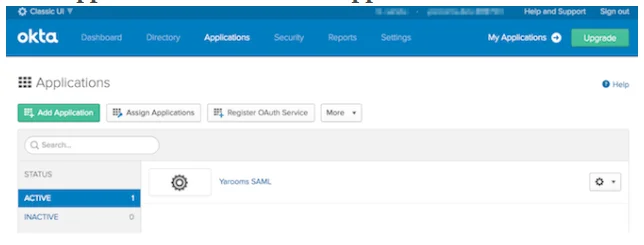
- Log in to your Okta organization as a user with administrative privileges.
- Go to Applications and click Add Application.
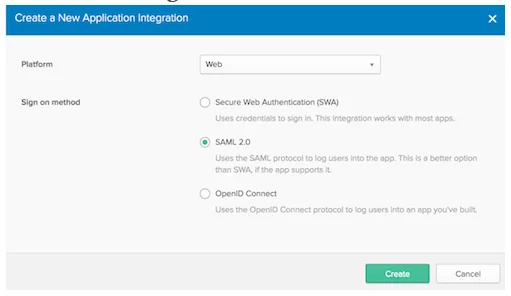
- In the next screen, click on the Create New App button.
Configure the Application:
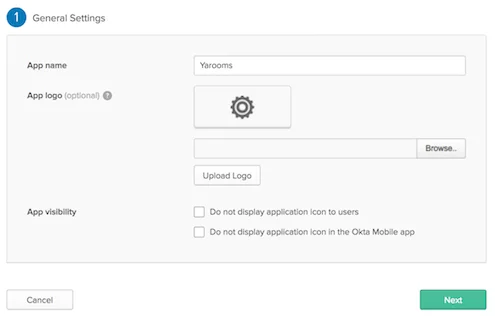
1) General Settings:
Type in the preferred name for your app and click Next
2) Configure SAML:
Fill in the form as follows:
- Single sign on URL: https://
yourdomain/account/saml/acs - Audience URI (SP Entity ID): https://
yourdomain/account/saml/metadata - Default ReplayState: this is optional, leave it blank
- Name ID Format: unspecified
- Application username: Okta username

- Attribute statements: this field mapping will be required later in setting up the SAML Connection in YAROOMS:
- FirstName mapped to user.firstName
- LastName mapped to user.lastName
- Email mapped to user.email
3) Feedback
- Select I’m an Okta customer adding an internal app and check This is an internal app that we created.
- Finish the process and navigate to the Sign on tab. Click on View Setup Instructions.
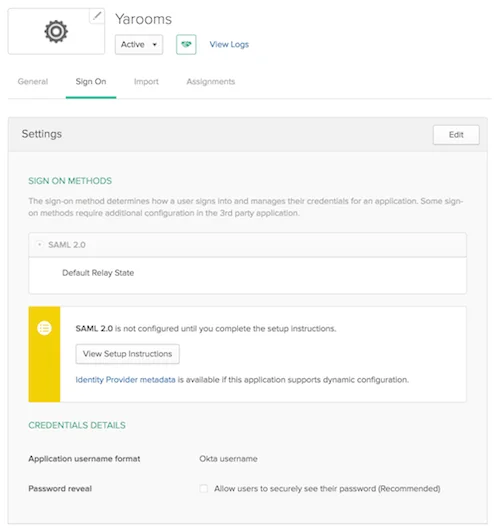
- A new tab will open containing the Okta settings that will be configured in YAROOMS. Leave this open.
STEP 2: Configure the SAML Connection in YAROOMS
Login to your YAROOMS domain as an administrator.
Navigate to Settings → Integrations → SAML 2.0 Authentication and start the integration process. In the Connection tab, fill in the form as follows:
- Identity Provider: Type Okta (this is a label, any value is accepted, it will appear on the login page as “Authenticate with Okta”)
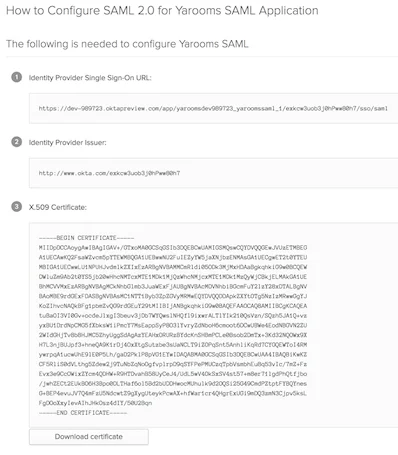
- Issuer URL: Copy and paste the value for Identity Provider Issuer from the Okta Setup Instructions tab.
- SAML Endpoint: Copy and paste the value for Identity Provider Single Sign-On URL from Okta.
- X.509 Certificate: Copy and paste the entire string for the X.509 Certificate from Okta.
- Name ID Format: unspecified
- Attributes Mapping:
- Map First Name to FirstName
- Map Last Name to LastName
- Map Email Address to Email
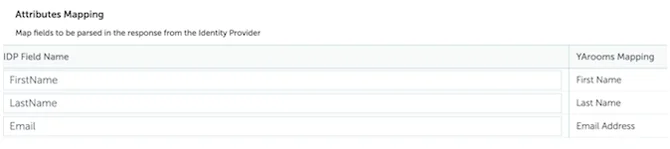
The string values from the IDP Field Name column must match those created in Okta at Step 2 - Configure SAML.
Save options and navigate to “User options” tab.
Set default group and location for the new users created with data from the Identity Provider.

SAVE User options and navigate to “Application details” tab.
Click on the activation button under Application details tab and complete the integration process.
This tutorial does not cover user provisioning and assignment in Okta. It assumes you’re already familiar with configuring Okta settings specific to your organization’s user setup. Assigning user access to the newly configured YAROOMS app falls into this category.